Oh no, the infamous blue screen of death—that awful moment when your computer just stops working, and you’re left panicking about what went wrong. Moreover, if you’ve ever run into the “Kernel Security Check Failure” error, you totally know how annoying it can be. However, don’t worry, my fellow tech enthusiasts! In this fun blog post, we’re going to dig into what’s really causing this issue and, additionally, we will share 9 solid ways to fix it. This way, you can jump back into browsing, gaming, and getting stuff done without always worrying about those annoying blue screens. So, let’s jump right in.
What is Kernel Security?
To get a grasp on kernel security check failure, you need to know what kernel security is all about. Firstly, kernel security is a critical piece of your operating system. In fact,is the heart of your system. It takes care of resources, guards the system’s integrity, stops unauthorized access, and keeps your computer running smoothly and efficiently.”
Understanding Blue Screen Of Death Or Kernel Security Check Failure Error
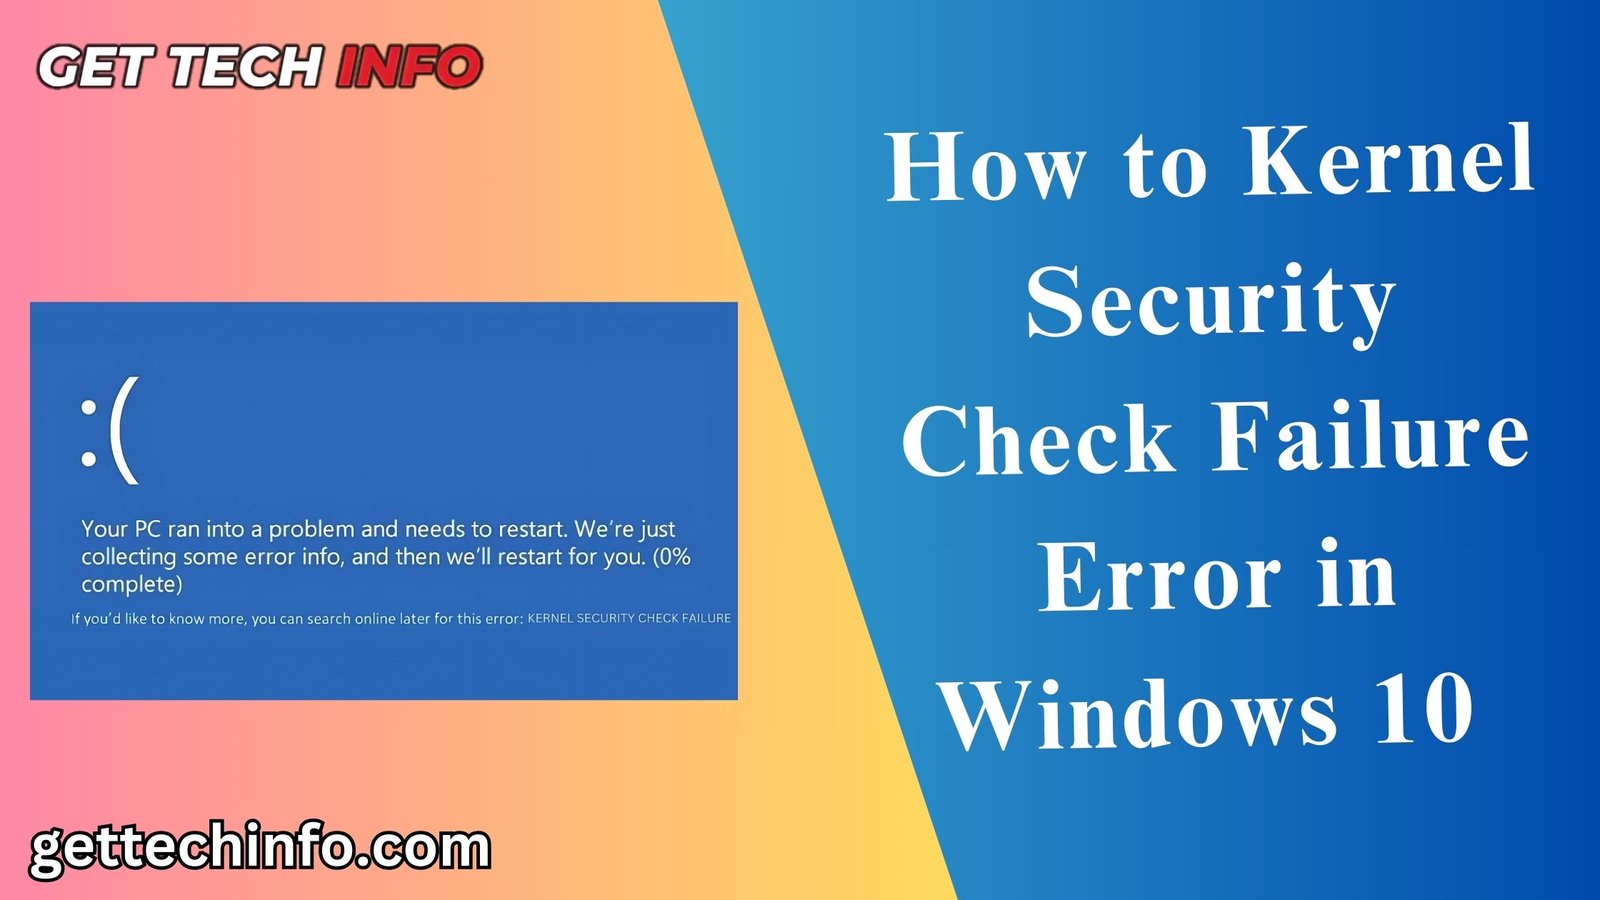
You usually see the “Kernel Security Check Failure” error pop up because Windows checks some critical files, and if it spots any issues, consequently, it throws out this error. Although the error message isn’t super informative, it does display a stop code (marked in yellow) that can shed some light on why you’re dealing with this blue screen of death (BSOD). Therefore, understanding the stop code may help you troubleshoot the problem more effectively.”
Causes of Kernel Security Check Failure Error
There are a bunch of things that can cause the “Kernel Security Check Failure” error. Here’s a quick rundown:
- Corrupted system files
- Outdated or incompatible drivers
- Faulty hardware components
- Malware infections
- Recent Windows updates
How To Identify Kernel Security Check Failure Error?
Once you see a blue screen of death (BSOD) on your computer, you know that there is a kernel security check failure. However, there are other symptoms too.
- Slow system performance: Additionally, a major drop in speed may signal that your system is encountering critical errors.
- Application crashes or freezes: Moreover, frequent interruptions while using software might suggest issues resulting from kernel issues.
- Inability to boot into Windows normally: Finally, trouble starting your system can indicate major issues that need to be troubleshooted to fix.
9 Effective Ways to Fix Kernel Security Check Failure Error
If you hit a kernel security check failure, figuring out the right solutions can seriously help your system bounce back and run like a champ. Check out these 9 Awesome Ways to Fix Kernel Security Check Failure Error.
1. Run the System in Safe Mode
Booting into Safe Mode can help figure out if other software or drivers are the ones causing the issue.
- Open Settings: To kick things off, hit the “Windows key + I “. This will take you to settings windows.
- Go to System Settings: Next up, Right-click the Windows Start button and from here select Settings from the menu.
- Select Recovery: After that, look to the right side and find “Update & Security. Here you will find the Recovery tab , just give it a click.
- Advanced Startup: Now, under the “Advanced Startup” section, hit “Restart Now.
- Restart for Startup Settings: Once your computer restatrs a bunch of options will appear on your screen. .
- Boot into Safe Mode: Finally, when your system restarts, pick Safe Mode. You can also press F4 and see if the issue is still there.
- Safe Mode with Networking: Now if you need to use the Internet in Safe Mode select option 5 or alternatively, hit the F5 key.
2. Update Your Windows
Keeping Windows updated usually fixes errors like the kernel security failure by putting in the latest fixes and patches.
- Open Settings: First off, open up Settings. Hit the Start button, then click on the gear icon.
- Go to Update & Security: Find “Update & Security” in the Settings menu and click on it.
- Check for Updates: Then, click “Check for updates” to allow Windows to find and install any updates that are out there.
- Restart Computer: Last but not least, restart your computer. If it asks you to, restart so the updates can take effect and check if the problem fixed.
3. Update Your Drivers
Keeping your drivers up to date is super important because old or broken drivers often lead to this kind of error.
- Open Device Manager: First up, hit the Start button, type “Device Manager” into the search box, and click on it.
- Find the Outdated Driver: Next, look for devices that have a yellow exclamation mark; you’ll usually find these under sections like “Display adapters” or “Network adapters.”
- Update the Driver:. Right-click on the device, select “Update driver,” and choose “Search automatically for updated driver software.” Windows will do its thing and find the latest version for you.
If it doesn’t find any updates, you’ll need to update manually. Head over to the manufacturer’s website, download the latest driver, and install it yourself.
4. Check for Corrupted Windows System Files
Using the System File Checker tool can help you spot and repair any messed-up files that might be causing this error.
- Restart and Interrupt: First, restart your computer and keep interrupting the restart process until the “Advanced Startup Options” window appears.
- Select Troubleshoot: Next, in the “Advanced Startup Options” window, click on “Troubleshoot.”
- Open Advanced Options: After that, inside the “Troubleshoot” menu, choose “Advanced Options.”
- Choose Startup Settings: Then, click “Startup Settings” and restart your computer again.
- Access Command Prompt: Finally, once your computer restarts, click on the Windows icon, search for “Command Prompt,” and open it.
- Next, Run as administrator.”
- Run the System File Checker. Just type sfc /scannow and hit Enter. This will check your system files for any damage and try to fix them.
- Then Review Results: Sit tight while the scan does its thing. When it’s done, it’ll let you know if it found and fixed any issues.
5. Check Your RAM
Bad RAM can lead to this error, so it’s a good idea to check it using Windows Memory Diagnostic.

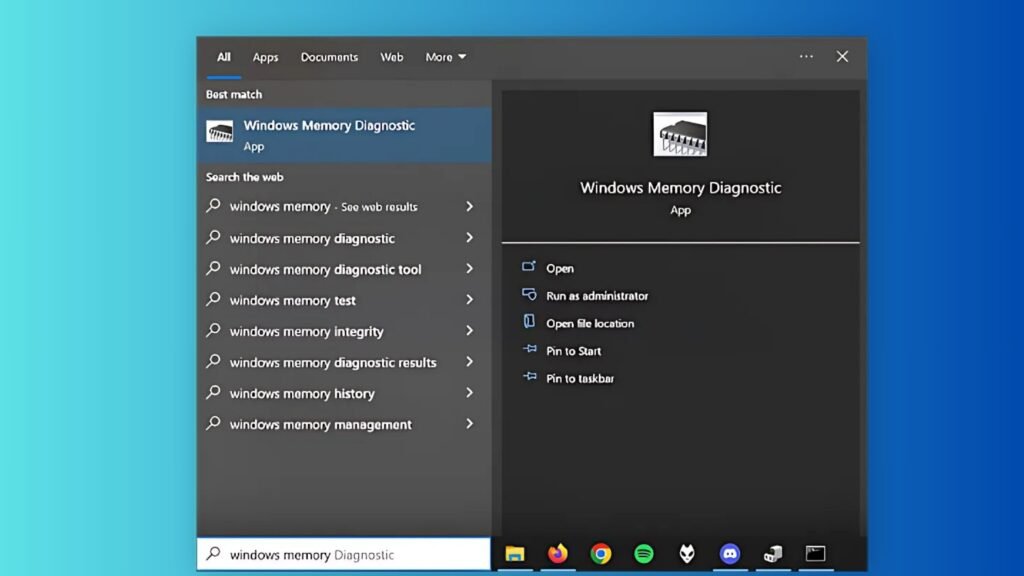
- Launch the Tool: First, hit the Windows button and type “Windows Memory Diagnostic” in the search bar, and pick it from the list.

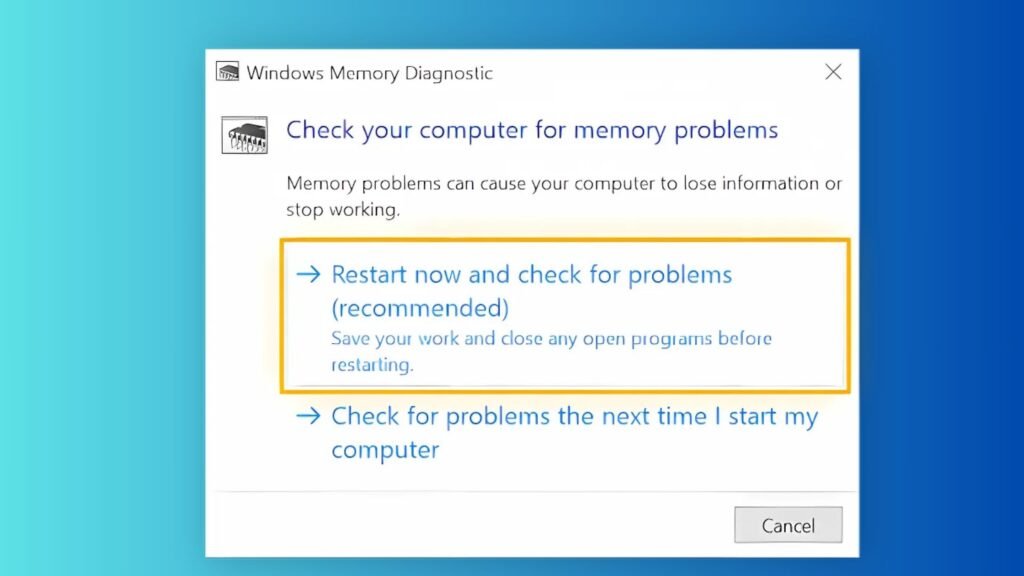
- Pick Your Option: Next, click on “Restart now and check for problems” to kick off the diagnostic scan.
- Hold Tight for the Scan: The tool’s gonna check for any RAM problems.
- Check Out the Results: Once the scan is done, Windows will let you know if it finds any errors. If there are issues, follow the instructions given to fix them.
6. Check Your Hard Drive
If you wanna check out any problems with your hard drive, just follow these steps:
- Open Command Prompt as Administrator: First, Just hit the Windows key + R, type “cmd,” and then press Ctrl+Shift+Enter. This will run the Command Prompt as administrator.
- Run a Hard Drive Check: Next up, type chkdsk c: /f and hit Enter to fix any file system problems.
- Complete the Scan: After that, type chkdsk c: /r to find any bad sectors, and chkdsk c: /x to dismount the drive and do a complete scan.
- Finally, don’t forget to restart your computer. Once the scans are done, reboot to make sure your computer is working.
7. Check for Viruses
Malware might be causing the issue. Let’s use Windows Defender:
- Open Windows Security: Just type “Windows Security” in the Start menu and click on it.
- Start a Scan: Hit “Virus & threat protection” and kick off a “Quick scan.”
- Do a Full Scan: For a more complete check, head over to “Scan options” and select “Full scan.”
- Follow the Prompts: Get rid of any threats you find.
8. Disable Third-Party Antivirus Software
Sometimes, antivirus software can mess with how your system runs. If you want to find out:
- Turn Off the Antivirus: Look up the right steps to temporarily shut down your antivirus.
- Reboot Your Computer: Check if the problem still happens after you restart.
9. Reinstall Windows
If nothing else works, think about doing a fresh install of Windows:
- To begin, back up important files. Make sure to save any essential data before proceeding with a reinstall.
- Next, follow the reinstallation steps. Use Windows installation media or the “Reset this PC” option in Settings to reinstall Windows.
By sticking to these steps, you can sort out the Kernel Security Check Failure and get your system back on track.
Steps To Prevent Kernel Security Check Failure Error In Future
Being proactive can really help cut down the chances of running into kernel security check failures, so your system stays safe and runs smoothly. Check out these tips to Prevent Kernel Security Check Failure on your computer.
- Keep Up with Regular Backups: Always make sure to do regular backups so you don’t lose any data due to unexpected problems.
- Use Trusted Antivirus Software: Go for reliable antivirus programs that can spot and get rid of malware threats effectively.
- Keep an Eye on Hardware Health: Make it a habit to regularly check and maintain your hardware components to keep everything running smoothly.
Conclusion
Dealing with the Kernel Security Check Failure is, without a doubt, absolutely essential for keeping your system running smoothly. Therefore, by following the recommended fixes and prevention strategies, you can ultimately avoid problems. Furthermore, don’t hesitate to drop your thoughts or extra tips in the comments below!”
FAQ
1. What should I do first when I encounter this error?
At first, you should start by rebooting your computer. If the error persists, try other fixes given in the blog above.
2. How does Kernel Security Check Failure impact System Performance?
This error can really mess with your computer’s performance, causing it to be unstable, crashing a lot, and putting your data at risk of getting lost or messed up.
3. Can hardware problems lead to this error?
Absolutely! Failing hardware components, particularly RAM or hard drives, can trigger the Kernel Security Check Failure error.


